











How to Use Volumetric Lighting in SOLIDWORKS Visualize

Written by: Elizabeth Carter
Published: Jul 29, 2026
| View All Blogs
Volumetric lighting allows you to simulate how light interacts with atmospheric elements such as dust, fog, smoke and haze, helping you create more realistic and visually engaging renders. Volumetric lighting is straightforward to set up and can dramatically change the atmosphere of a render.
Let’s take a look at how to create the effect in SOLIDWORKS Visualize.
Enable the 3DS Stellar Render Engine
First, ensure your Visualize rendering settings are set to the 3DS Stellar Render Engine. This is where the GPU Render option for volumetric effects is available.

3DS Stellar Render Mode
Create a Volume Object
To create a volumetric effect, navigate to the Model tab, click Add (+) and choose New Volume.

Creating a New Volume
Adjust Volume Density
The Volume object defines the area in which the volumetric effect will be visible. For this example, the Volume should be scaled large enough to encompass the entire scene.
You can scale the Volume using the Object Manipulator, by pressing S on your keyboard, or via the Transform tab.

Scaling the Volume
Once scaled, you can use the Density setting in the Volume tab to adjust the smoke or ‘haze’ effect you want in your scene. A density value of 1.00 produces a very dense effect, so in most cases you’ll achieve better results using much lower values. Higher density values can quickly obscure the model, creating a much heavier atmospheric effect.
The examples below demonstrate the visual impact of gradually increasing the density value.

Density is set to 0.005; Density set to 0.015; Density set to 0.025
Performance Tip
As with many advanced rendering effects, volumetric lighting can increase render times. Test different density values and Volume object sizes to balance visual quality with rendering performance.
Modify the Volume Colour
Adjusting the Volume colour allows you to change the appearance of light passing through the atmosphere. For example, warmer colours can help replicate sunlight, while coloured volumes can be used to create dramatic stage lighting or cinematic effects.

Yellow Tones Applied to the Volume

Final Render with Yellow Tones
Create Animated Effects
Volumetric effects can also be combined with animations to create moving light beams, atmospheric transitions or environmental effects. This can add another level of realism when producing marketing videos or product presentations.
In the video below, you can see how volumetric lighting can be used to create atmospheric motion effects within a rendered scene.

Final Thoughts
Volumetric lighting is a powerful yet easy-to-use feature that can significantly enhance realism within SOLIDWORKS Visualize. By combining Volume objects with scene lighting, you can create subtle atmospheric effects, dramatic light rays and cinematic animations that help product renders stand out.
By experimenting with volume density, colour and lighting direction, you can create everything from subtle atmospheric haze to dramatic cinematic lighting effects, helping your renders communicate products more effectively and stand out from the crowd.
Categorised as: Software | Tech Tips | Tutorials | Visualisation
Looking to improve your rendering workflow?
Explore our other SOLIDWORKS Visualize tips and tutorials or speak to our team to learn how SOLIDWORKS Visualize Professional and Visualize Connected can help you create more compelling product renders.

Related Posts

How to Find Reaction Forces in SOLIDWORKS Simulation
SOLIDWORKS helps us to find resultant forces through simulation studies. These virtual tests reduce the need for physical prototypes and give us an accurate answer.

Setting number of decimal places in a table on a drawing
When creating an equation in a drawing general table, is it possible to define the…
SOLIDWORKS Smart Fasteners
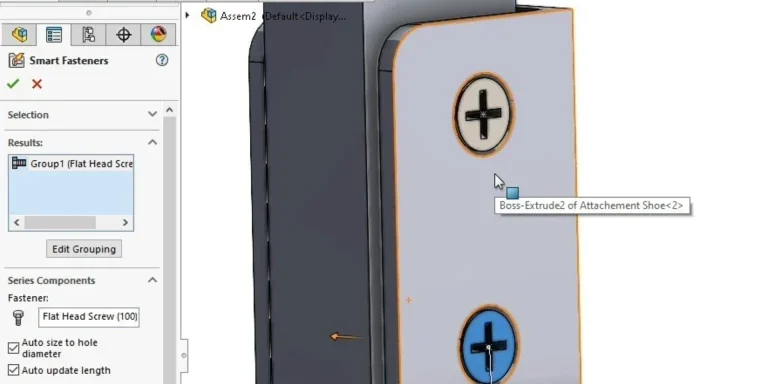
SOLIDWORKS Smart Fasteners is a really useful time saving tool, allowing you to automatically insert toolbox fasteners such as bolts and screws into an assembly providing there is a standard hole.

Why is my Flat Pattern not showing in SOLIDWORKS Drawings?
This may be linked to how the drawing is saved or it can be related to how sheet metal parts are displayed in drawings, read on to find out how to fix it.

Why is SOLIDWORKS Crashing?
It’s one of the great mysteries of life – why is SOLIDWORKS crashing? Let’s explore how SOLIDWORKS crashes and how we can improve performance in SOLIDWORKS.

SOLIDWORKS Tips: Are you Making this Common Mistake in Fatigue Analysis?
Simulation is a vital and complex engineering need. Fortunately, SOLIDWORKS makes it easy to test, correct mistakes and obtain accurate results.

Tech Support Blog: Why are my SOLIDWORKS BOM Quantities Wrong?
Why are my SOLIDWORKS BOM Quantities Wrong? A support call cropped up this week which…
Series 1 Land Rover Pedal Car – Made Easy with Solidworks!
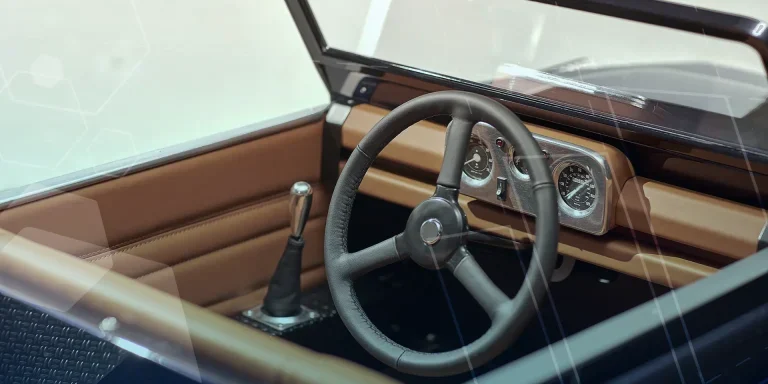
The Series1 began production in 1948 designed to help get Britain farming after the war effort. It grew extremely popular and today enthusiasts are prepared to throw their life savings at restoring originals from that period.

SOLIDWORKS Visualize. Why go pro? – 6 Post Processing
In this blog we will be look at the post-processing options that can be found in SOLIDWORKS Visualize

SOLIDWORKS Visualize. Why go pro? – 7 Lighting
SOLIDWORKS Visualize uses a non-biased rendering engine, which allows for physically accurate lighting within a scene. It generates images with high amount of realism and correct set up can replicate photo studio lighting.