








Nesting 2D Components In 3DEXPERIENCE DELMIA
Written by: Tom Buxton
Published: Sep 22, 2026
| View All Blogs
Efficiency and material waste optimization are fundamental to the manufacturing process. Sheet metal nesting plays a vital role in reducing waste, lowering costs, and maximizing production. With 3DEXPERIENCE DELMIA, manufacturers can take nesting to the next level, optimising layouts, streamline processes, and seamlessly connect design to production within a single collaborative platform.
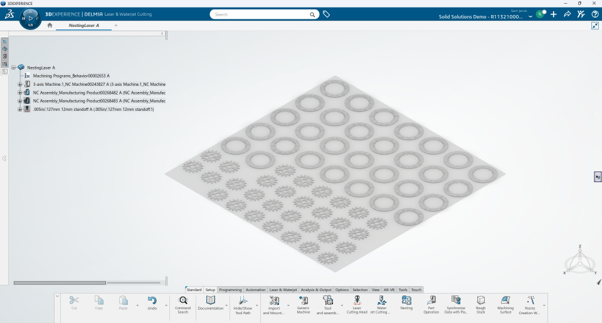
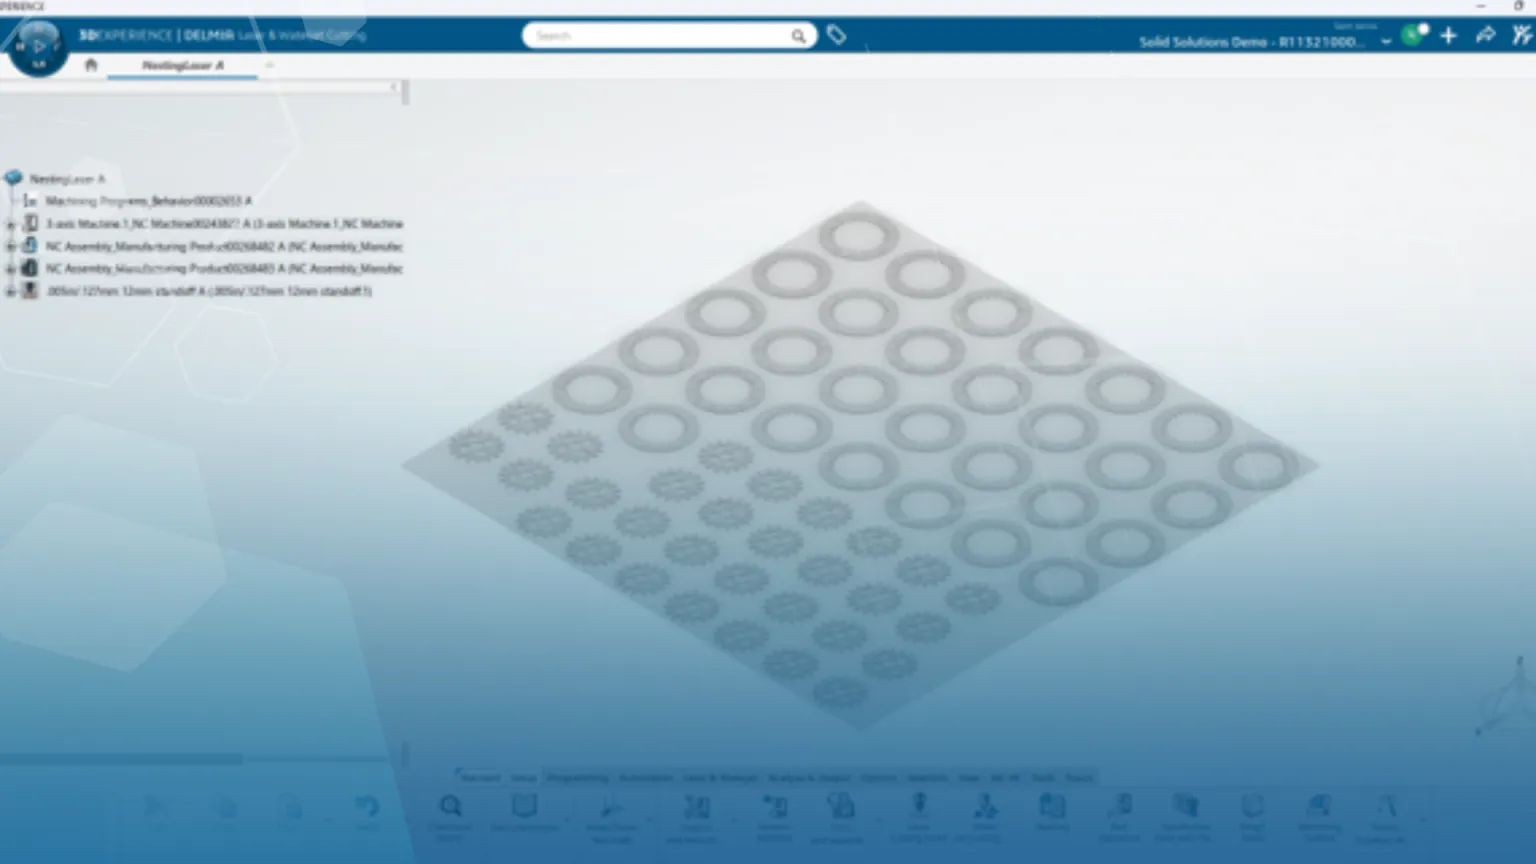
Multiple 2D gear designs nested onto one sheet ordered by bounding box
An Overview of the Nesting Setup Tool
The nesting functionality uses algorithms to automatically generate optimized layouts, taking into account factors such as material type, sheet size, grain direction, and part spacing. Users also have the flexibility to refine nests interactively, balancing automation with control.
A key advantage of DELMIA is its native integration with the 3DEXPERIENCE platform. By eliminating file translations and maintaining associativity with design data, any upstream changes are quickly reflected in nesting layouts, reducing errors and saving time.
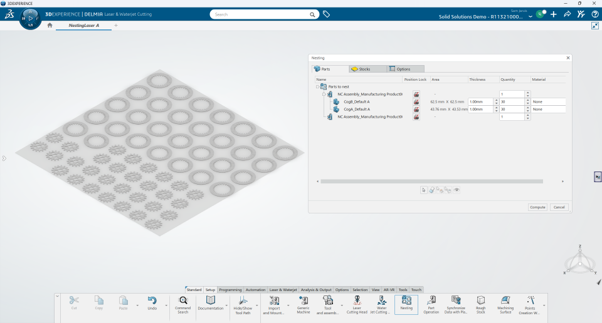
Part quantities can be altered post nesting to optimise material use
Additional optimisation can be performed through the nesting options. Spacing can be driven by the bounding box of the parts as well as the real contour. Applying an edge offset can also be applied in the X and Y directions to reduce the risk of part movement.
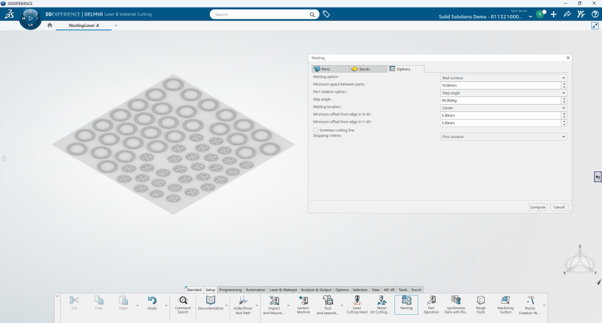
Nesting by real contour with applied edge offset
Sheet Metal Nesting Case Study
This short case study will outline the nesting process for 2 gear design files, each requiring 30 iterations on the same 500×500 sheet.
For this case study, the Laser and Waterjet Cutting application will be used.
Once a machine has been assigned, select Import and Mount Resource and select Import Manufacturing Product.
Once the design files have been added, the nesting tool can be used.
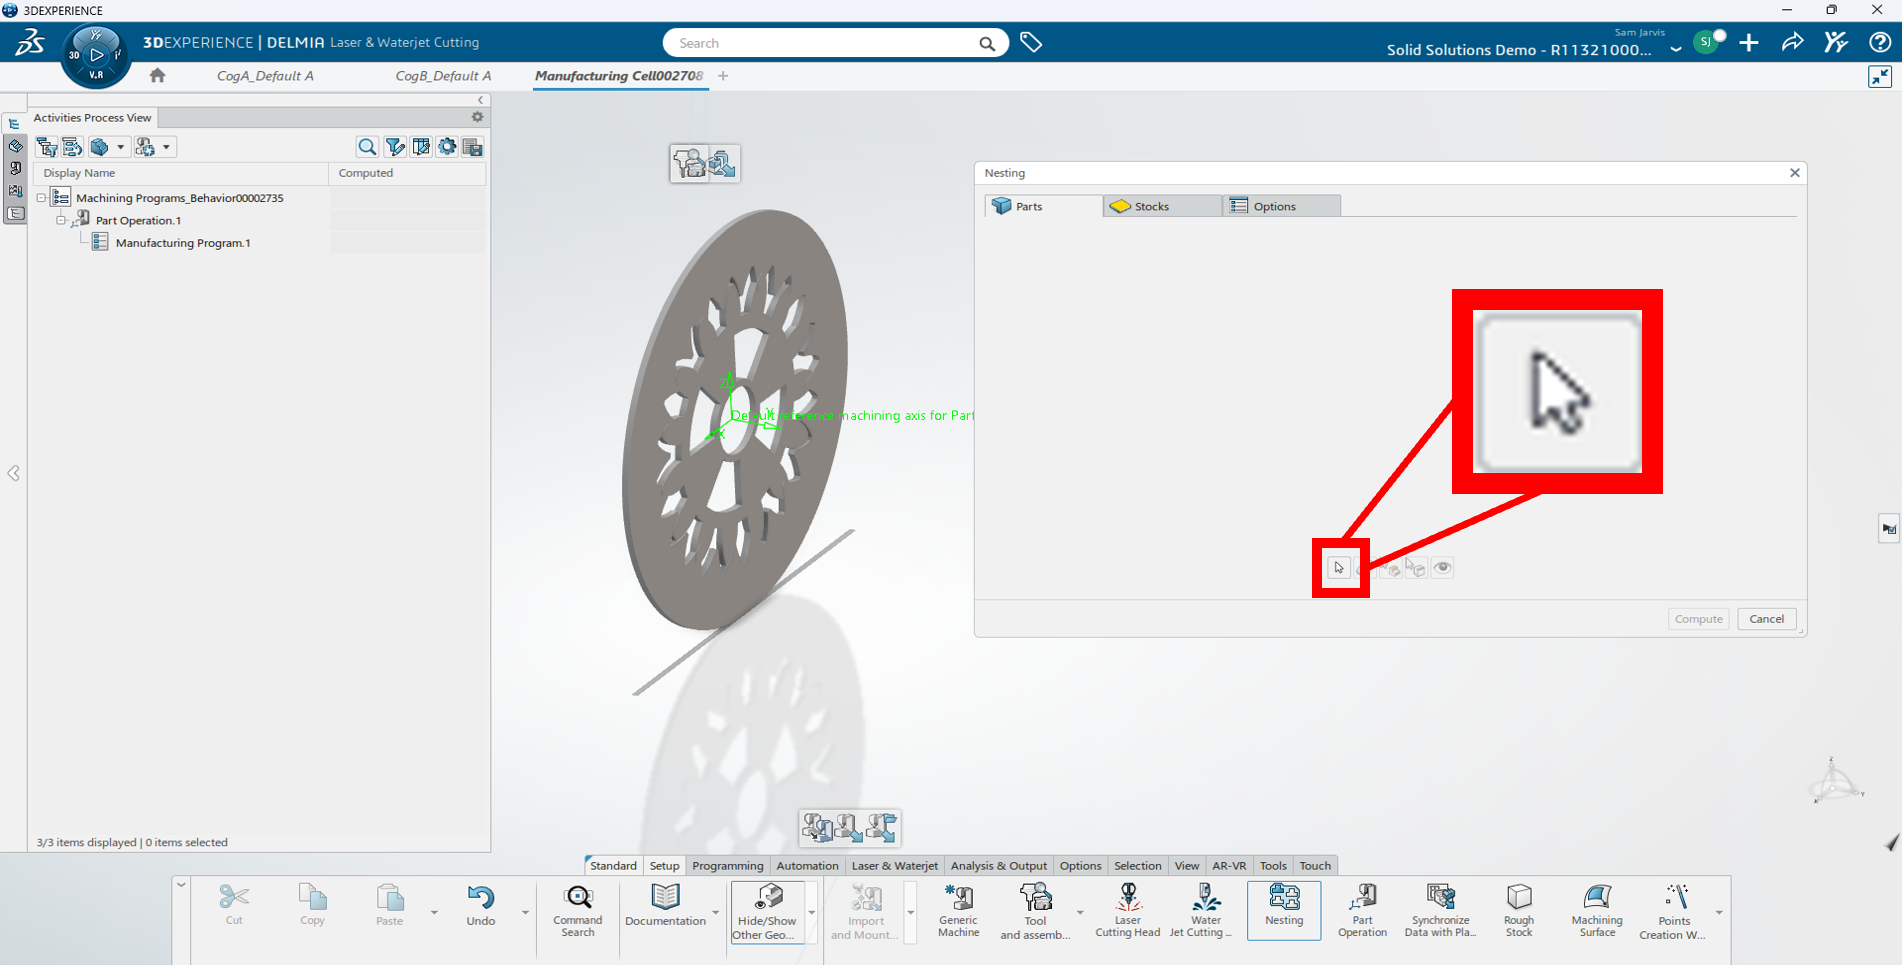
Select parts to nest
The first page available in the nesting tool is the parts window. At this stage, the quantity of each component can be assigned.
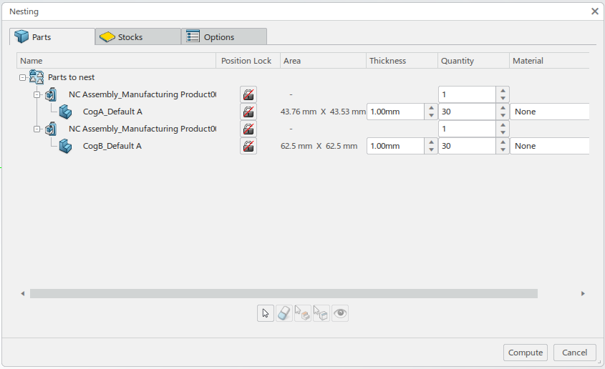
Part quantity and material assignment
Following onto the stock page for assigning sheet size and thickness.
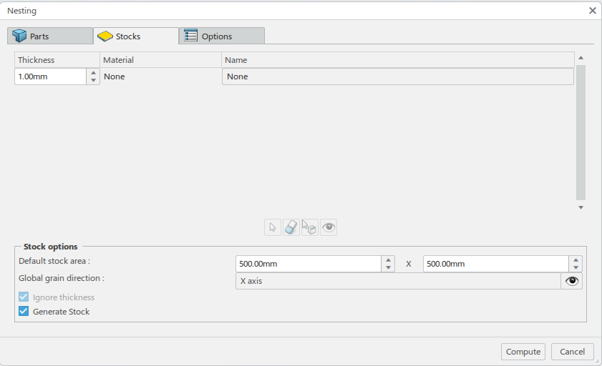
Stock size assignment
Finally, options can be implemented for spacing and offsets.
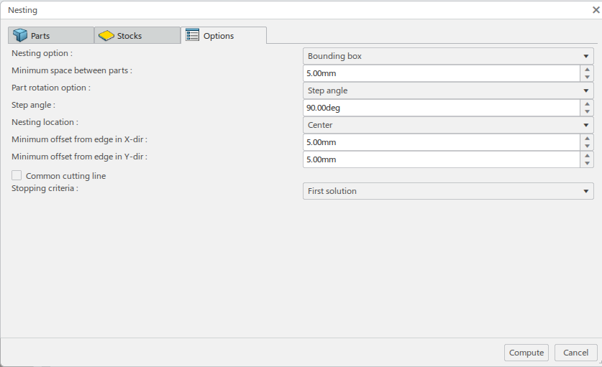
Nesting options
Select ‘compute’ to see a preview of the nest. If the results are expected, select ‘OK’. If alterations are required, select ‘remove result’ and change any necessary parameters.
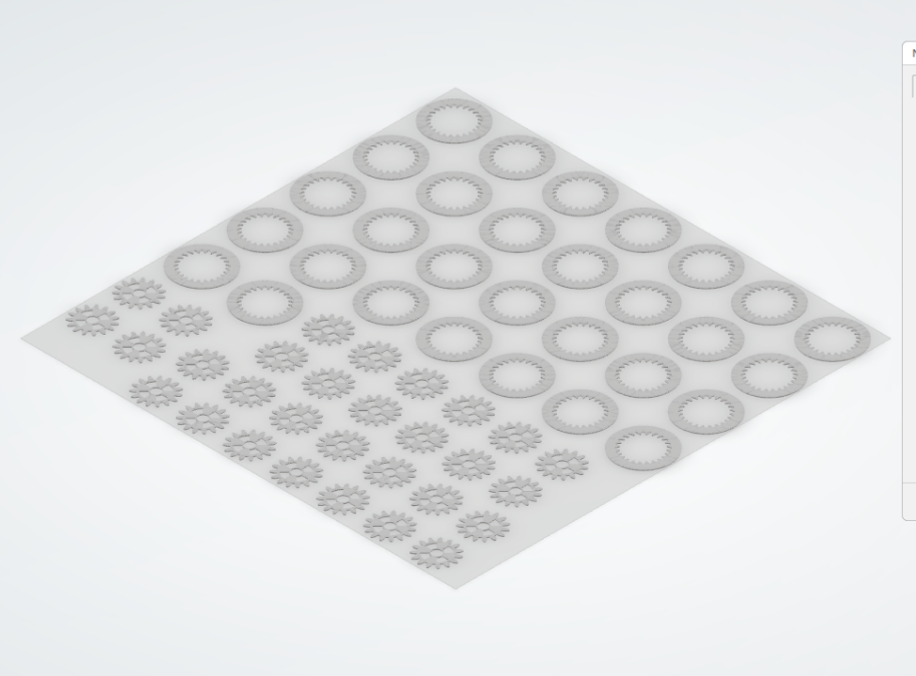
Resulting nest
To make alterations to existing nests, select nesting in the setup menu and select Update the current nesting solution.
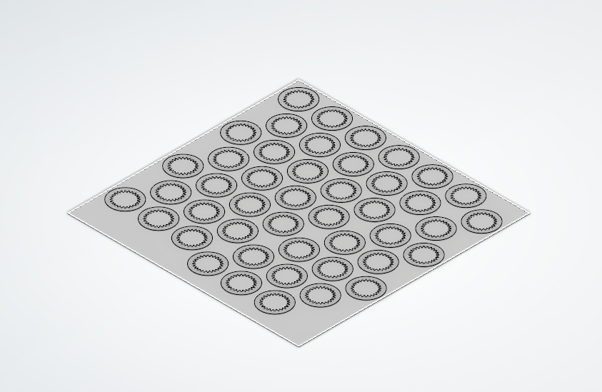
Removal of secondary component and real contour nesting for single design with 40 iterations
2D Components
Categorised as: Education | SOLIDWORKS xDesign | Sheet Metal | Software
Get a SOLIDWORKS Quote
Interested in SOLIDWORKS? Contact us for questions, trials, or demos by clicking the button below or call 01926 333777. Our experts will help you find the perfect solution.

Related Posts

How to Find Reaction Forces in SOLIDWORKS Simulation
SOLIDWORKS helps us to find resultant forces through simulation studies. These virtual tests reduce the need for physical prototypes and give us an accurate answer.

Setting number of decimal places in a table on a drawing
When creating an equation in a drawing general table, is it possible to define the…
SOLIDWORKS Smart Fasteners
SOLIDWORKS Smart Fasteners is a really useful time saving tool, allowing you to automatically insert toolbox fasteners such as bolts and screws into an assembly providing there is a standard hole.
Why is my Flat Pattern not showing in SOLIDWORKS Drawings?
This may be linked to how the drawing is saved or it can be related to how sheet metal parts are displayed in drawings, read on to find out how to fix it.

Why is SOLIDWORKS Crashing?
It’s one of the great mysteries of life – why is SOLIDWORKS crashing? Let’s explore how SOLIDWORKS crashes and how we can improve performance in SOLIDWORKS.

SOLIDWORKS Tips: Are you Making this Common Mistake in Fatigue Analysis?
Simulation is a vital and complex engineering need. Fortunately, SOLIDWORKS makes it easy to test, correct mistakes and obtain accurate results.
Tech Support Blog: Why are my SOLIDWORKS BOM Quantities Wrong?
Why are my SOLIDWORKS BOM Quantities Wrong? A support call cropped up this week which…
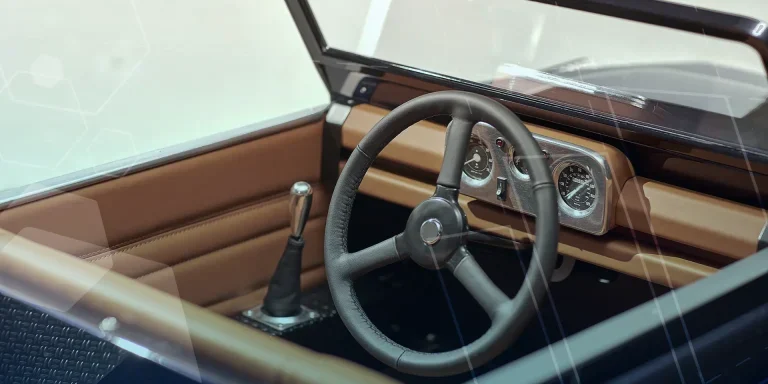
Series 1 Land Rover Pedal Car – Made Easy with Solidworks!
The Series1 began production in 1948 designed to help get Britain farming after the war effort. It grew extremely popular and today enthusiasts are prepared to throw their life savings at restoring originals from that period.

SOLIDWORKS Visualize. Why go pro? – 6 Post Processing
In this blog we will be look at the post-processing options that can be found in SOLIDWORKS Visualize

SOLIDWORKS Visualize. Why go pro? – 7 Lighting
SOLIDWORKS Visualize uses a non-biased rendering engine, which allows for physically accurate lighting within a scene. It generates images with high amount of realism and correct set up can replicate photo studio lighting.